Adding multilingual text correction in VS Code
How to add LanguageTool functionality to inside your VS Code editor to enable multilingual text correction
What is the problem I’m trying to solve
I love VS Code, it’s simple, fast, free, open-source, and most important of all, extremely extensible. I use it to write things both in English and in Portuguese (my mother tongue) using Markdown, but I’m not really confident that I will write without errors, so I wanted a functionality like Grammarly inside VS Code, but for both Portuguese and English, and most important of all, open-source and free. And I found the answer, LanguageTool.
LanguageTool inside VS Code
Language tool is a multilingual grammar, style and spell checker that’s both open-source and free! So we can connect it to our VS Code by using extensions, and it’s license (LGPL-2.1) is permissive for personal use so let’s start using it.
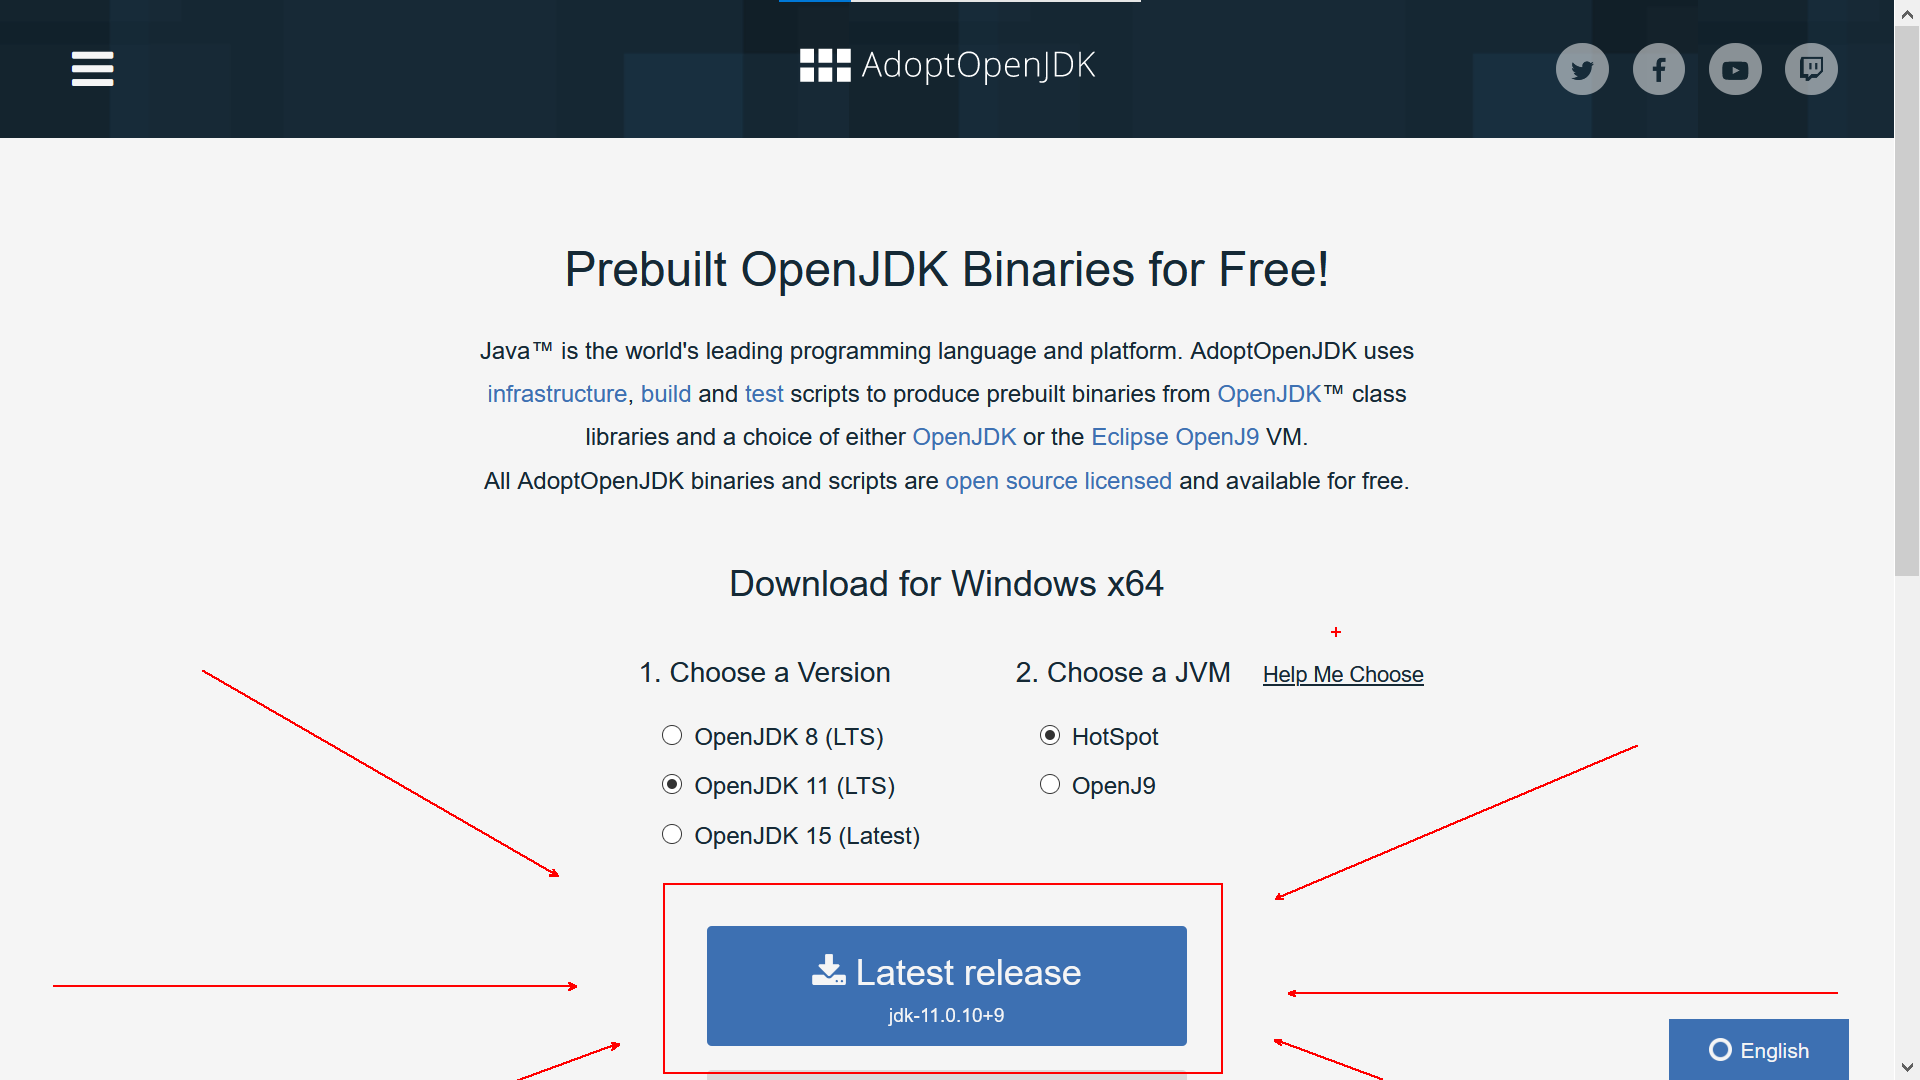
First things first, as Language tool is written primarily in Java we first need to install the Java in our machine, there’s plenty of ways to do this but the one I’m going to use is OpenJDK. If you are in Windows like me then you can get an installer from AdoptOpenJDK. Just click the big blue button in the middle of the page to get the installer:
After having installed OpenJDK then you need to download the LanguageTool Binaries. After it finishes downloading you need to extract it in an accessible place in your computer (to VS Code). In Windows, I recommend in the root of the C Disk:
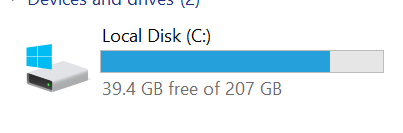
In case you are in Linux or macOS, I recommend you save it in root (
/) or in your user root folder (~)
Integrating LanguageTool inside VS Code
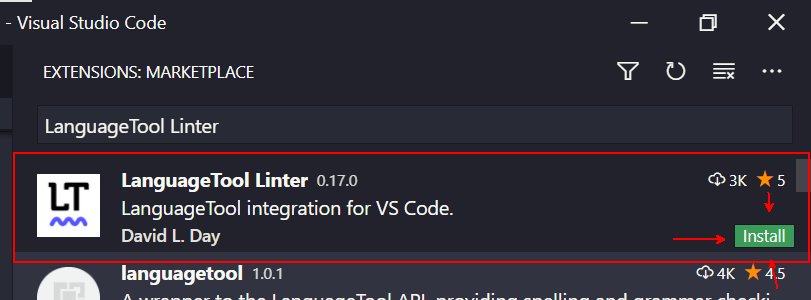
The extension we will use to integrate LanguageTool to VS Code is LanguageTool Linter by David L. Day (If you like it go say thanks to him later at Twitter). So install it in your VS Code:
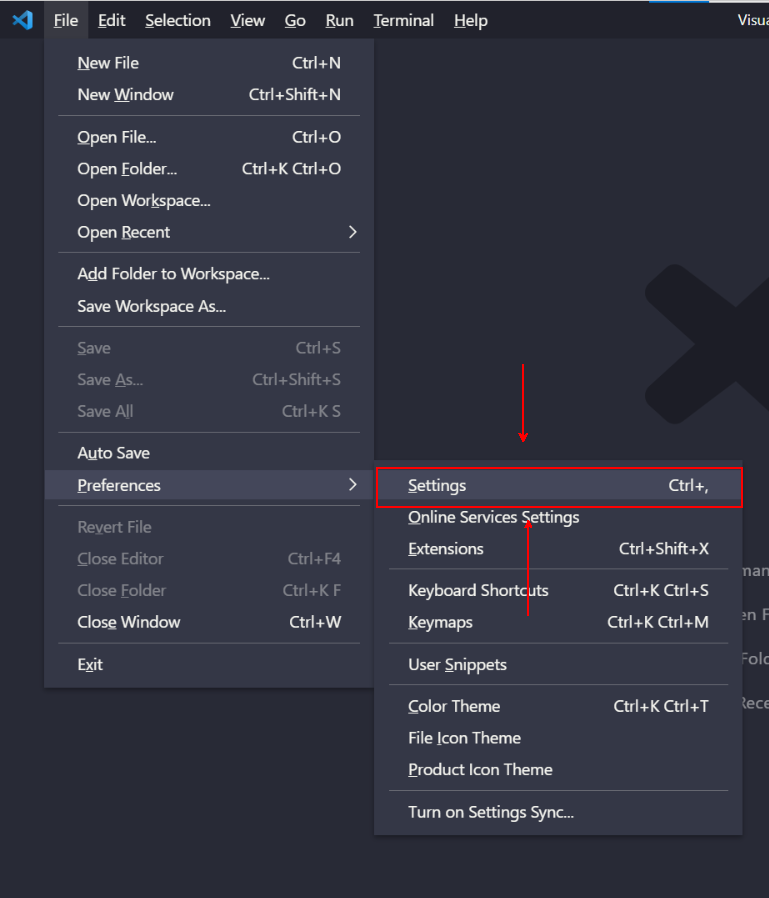
And after doing this it will not work! After all we need to configure it. As it’s said in the Setup Documentation of LanguageTool Liner, there are many ways you can configure it, in my opinion, the easiest (and obviously the one I’m going to show) is to link the extension to the LanguageTool binaries we downloaded earlier. To do that open Visual Studio Code settings, either with the keyboard shortcut (ctrl + , or Command + , in Mac) or in the UI Menu:
Inside VS Code Settings search for LanguageTool:

And let’s change a few properties:
- Change the property
Managed: Class pathto the path of the binarylanguagetool-server.jarinside the folder you extracted earlier (if you are in Windows and extracted in the same as me it’sC:\language-tool\languagetool-server.jar):

In case you are in Linux or macOS, you change the location to something like
/language-tool/languagetool-server.jaror~/language-tool/languagetool-server.jardepending on where you extracted it
- Change the property
Service Typetomanaged:

- Change the property
Preferred Variantsto your language variant, in my exampleen-US, pt-BR, because I generally work with American English, and I’m from Brazil (there’s a lot of difference between Portugal Portuguese and Brazilian Portuguese):

And that’s it, now when editing Plain Text Files (like .txt and .md files) whenever you save the file the LanguageTool should be giving hints about things that are wrong or that could be improved:

And it of course works for other languages as well, in this case Brazilian Portuguese:

Conclusion
And this is it, I hope that this was useful, because for me, it is incredible. Any doubts you can enter in contact with me or the extension creator. In case you want to customize further your LanguageTool experience, there are many other options in the VS Code settings, give it a try and good luck on your next writing project.